明霞山资源网 Design By www.htccd.com
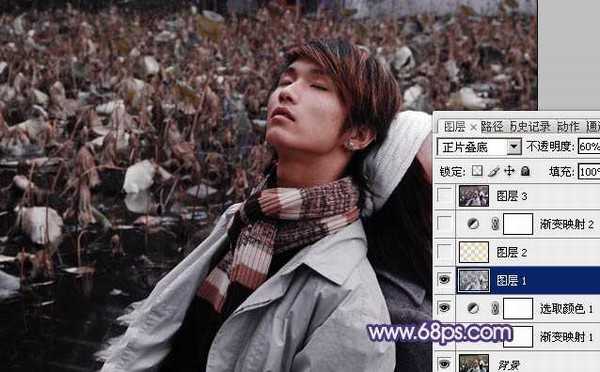
原图

最终效果

1、打开原图素材,创建渐变映射调整图层,颜色设置如图1,确定后把图层混合模式改为“色相”,不透明度改为:50%,效果如图2。
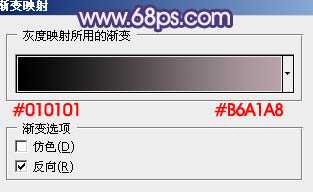
<图1>
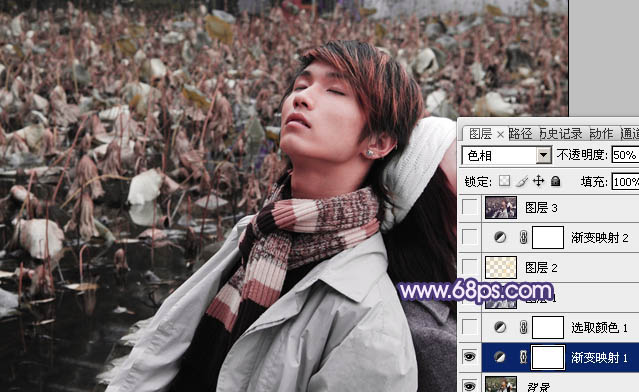
<图2>
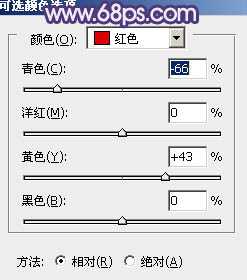
2、创建可选颜色调整图层,对红色进行调整,参数设置如图3,效果如图4。
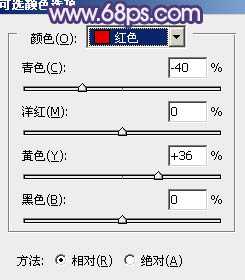
<图3>
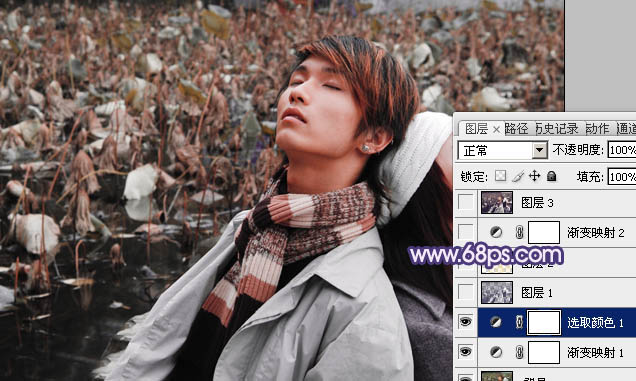
<图4>
3、按Ctrl + Alt + ~ 调出高光选区,按Ctrl + Shift + I 反选,新建一个图层填充颜色:#2F2052,混合模式改为“正片叠底”,不透明度改为:60%,效果如下图。
<图5>
4、按Ctrl + Alt + ~ 调出高光选区,新建一个图层填充颜色:#FAE4A9,混合模式改为“色相”,不透明度改为:70%,效果如下图。
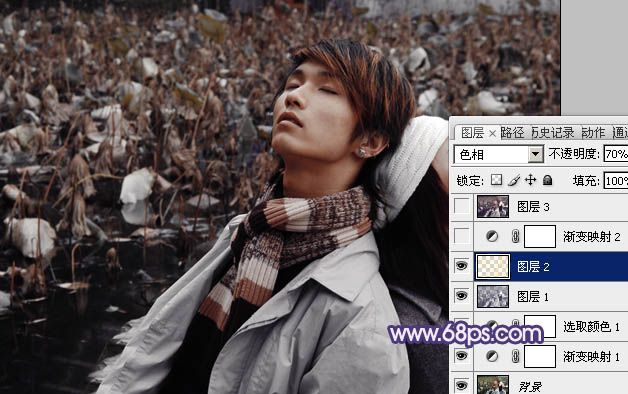
<图6>
5、创建渐变映射调整图层,颜色设置如图7,确定后把图层混合模式改为“滤色”,不透明度改为:50%,效果如图8。
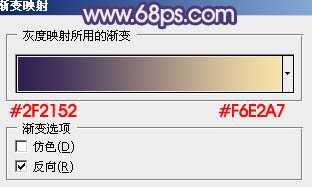
<图7>
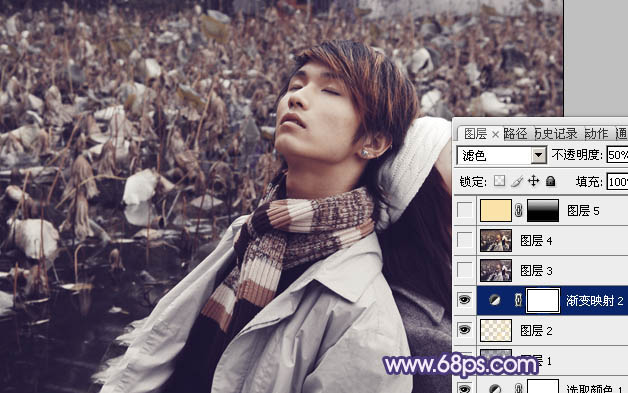
<图8>
6、创建可选颜色调整图层,对红,黄,白进行调整,参数设置如图9 - 11,效果如图12。
<图9>
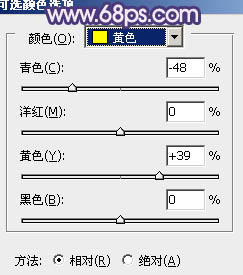
<图10>
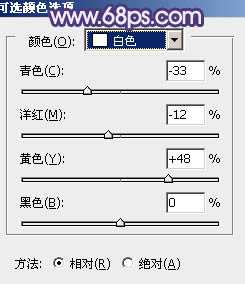
<图11>

<图12>
上一页12 下一页 阅读全文
最终效果
1、打开原图素材,创建渐变映射调整图层,颜色设置如图1,确定后把图层混合模式改为“色相”,不透明度改为:50%,效果如图2。
<图1>
<图2>
2、创建可选颜色调整图层,对红色进行调整,参数设置如图3,效果如图4。
<图3>
<图4>
3、按Ctrl + Alt + ~ 调出高光选区,按Ctrl + Shift + I 反选,新建一个图层填充颜色:#2F2052,混合模式改为“正片叠底”,不透明度改为:60%,效果如下图。
<图5>
4、按Ctrl + Alt + ~ 调出高光选区,新建一个图层填充颜色:#FAE4A9,混合模式改为“色相”,不透明度改为:70%,效果如下图。
<图6>
5、创建渐变映射调整图层,颜色设置如图7,确定后把图层混合模式改为“滤色”,不透明度改为:50%,效果如图8。
<图7>
<图8>
6、创建可选颜色调整图层,对红,黄,白进行调整,参数设置如图9 - 11,效果如图12。
<图9>
<图10>
<图11>
<图12>
上一页12 下一页 阅读全文
标签:
柔美,蓝灰色
明霞山资源网 Design By www.htccd.com
广告合作:本站广告合作请联系QQ:858582 申请时备注:广告合作(否则不回)
免责声明:本站文章均来自网站采集或用户投稿,网站不提供任何软件下载或自行开发的软件! 如有用户或公司发现本站内容信息存在侵权行为,请邮件告知! 858582#qq.com
免责声明:本站文章均来自网站采集或用户投稿,网站不提供任何软件下载或自行开发的软件! 如有用户或公司发现本站内容信息存在侵权行为,请邮件告知! 858582#qq.com
明霞山资源网 Design By www.htccd.com
暂无评论...
一口气升级7个大模型SaaS应用,百度智能云:突出一个“开箱即用” - 2026/4/14
这一波大模型产业落地浪潮里,不少企业其实处在 “干瞪眼“的状态。
一种情况是,很多大模型产品看得见却摸不着,在台上一个个遥遥领先——今天Sora技精四座,明天英伟达的机器人又赢得满堂彩,可是到了台下一问:啥时候能用上啊?答曰:遥遥无期。
另一种情况是,企业想用上大模型,却又难免瞻前顾后——既要考虑场景融合,又得兼顾安全性,还要考虑打通现有系统,再加上各种部署成本和繁琐的采购流程……最后只能拂袖:罢了,再等等吧。
这一波大模型产业落地浪潮里,不少企业其实处在 “干瞪眼“的状态。
一种情况是,很多大模型产品看得见却摸不着,在台上一个个遥遥领先——今天Sora技精四座,明天英伟达的机器人又赢得满堂彩,可是到了台下一问:啥时候能用上啊?答曰:遥遥无期。
另一种情况是,企业想用上大模型,却又难免瞻前顾后——既要考虑场景融合,又得兼顾安全性,还要考虑打通现有系统,再加上各种部署成本和繁琐的采购流程……最后只能拂袖:罢了,再等等吧。
稳了!魔兽国服回归的3条重磅消息!官宣时间再确认!
昨天有一位朋友在大神群里分享,自己亚服账号被封号之后居然弹出了国服的封号信息对话框。
这里面让他访问的是一个国服的战网网址,com.cn和后面的zh都非常明白地表明这就是国服战网。
而他在复制这个网址并且进行登录之后,确实是网易的网址,也就是我们熟悉的停服之后国服发布的暴雪游戏产品运营到期开放退款的说明。这是一件比较奇怪的事情,因为以前都没有出现这样的情况,现在突然提示跳转到国服战网的网址,是不是说明了简体中文客户端已经开始进行更新了呢?